Presentation
This guide will teach you how to use prepare and print a 3D model using the Bambulab X1 Carbon 3D printer.
Introduction
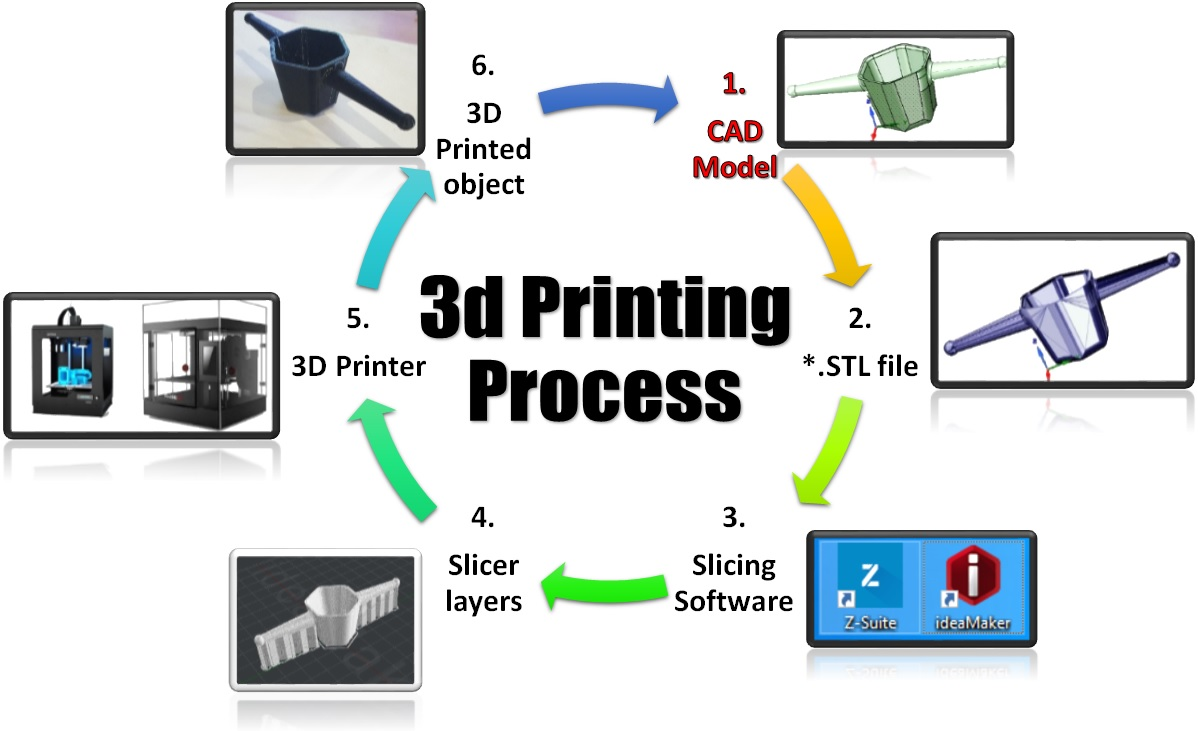
Fused Deposition Modeling (FDM) 3D printing is the most common method for 3D printing. It involves depositing a thread of molten thermoplastic material onto a plate, layer by layer, to create a 3-dimensional object.
The necessary equipment for 3D printing is as follows:
- An FDM 3D printer (here Bambulab X1 Carbon)
- Thermoplastic filament
- A computer with slicing software
- The object file to be printed
Here is a detailed schema to understand the process:
Risks and protections
| Material | Risk | Protection |
|---|---|---|
| Standard plastics | None | None |
| Engineering plastics & ABS | Fumes | Ventilation, opening windows |
| Composite plastics | Fumes | Ventilation, opening windows, avoid staying in the room |
The Printer
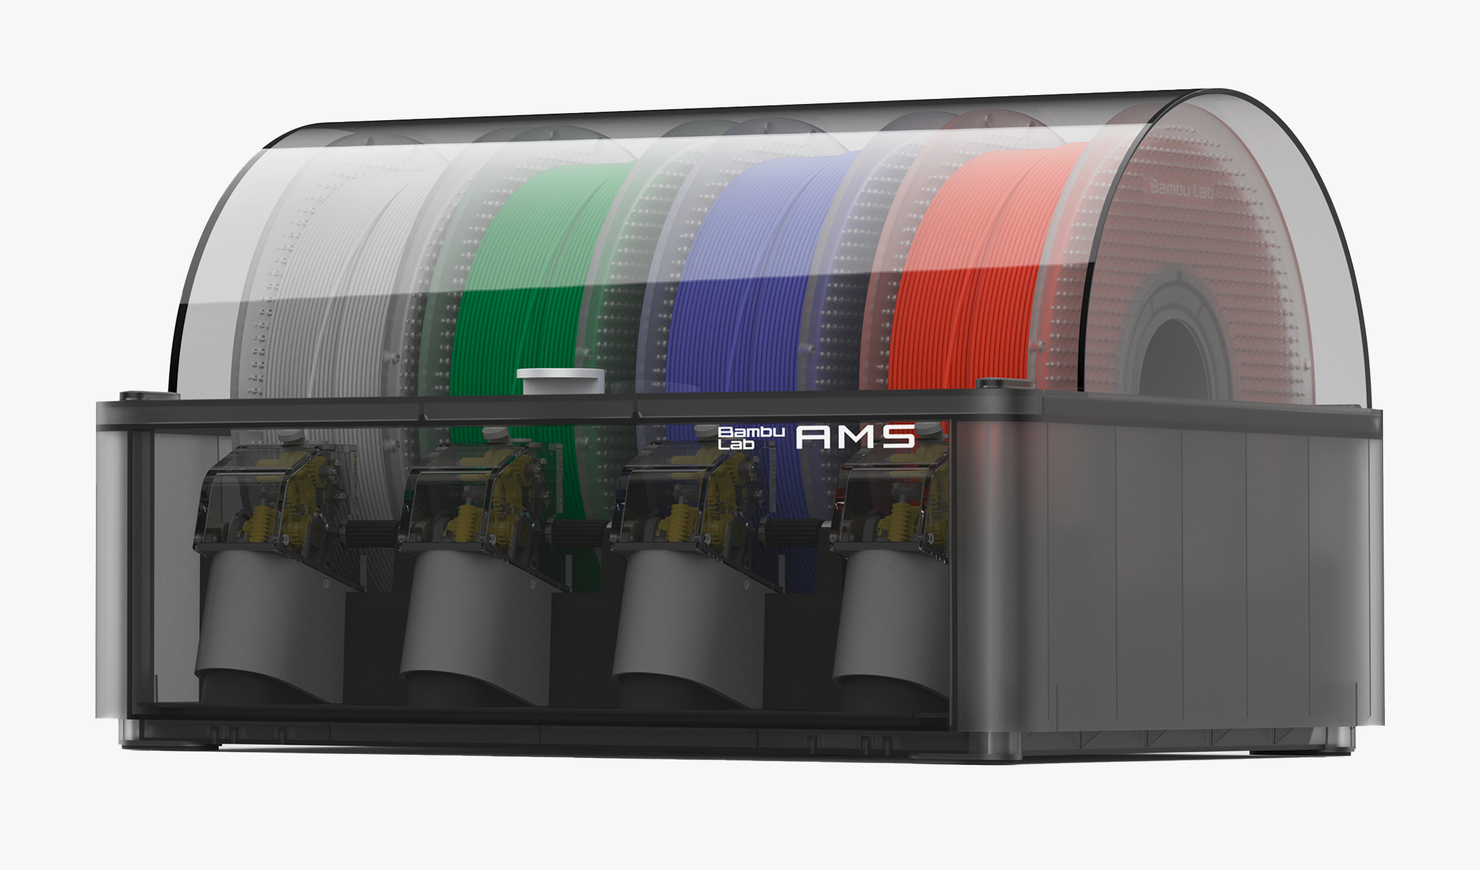
The AMS (specific to Bambulab)
The Bambulab AMS is an automatic material management system that allows 3D printing with up to four different filaments without having to manually change the spools. It uses an automatic filament recognition system (RFID) to identify the spools and an automatic spool changing system to change them automatically when the filament runs out. The AMS is also equipped with a filament drying system to eliminate moisture and improve print quality.
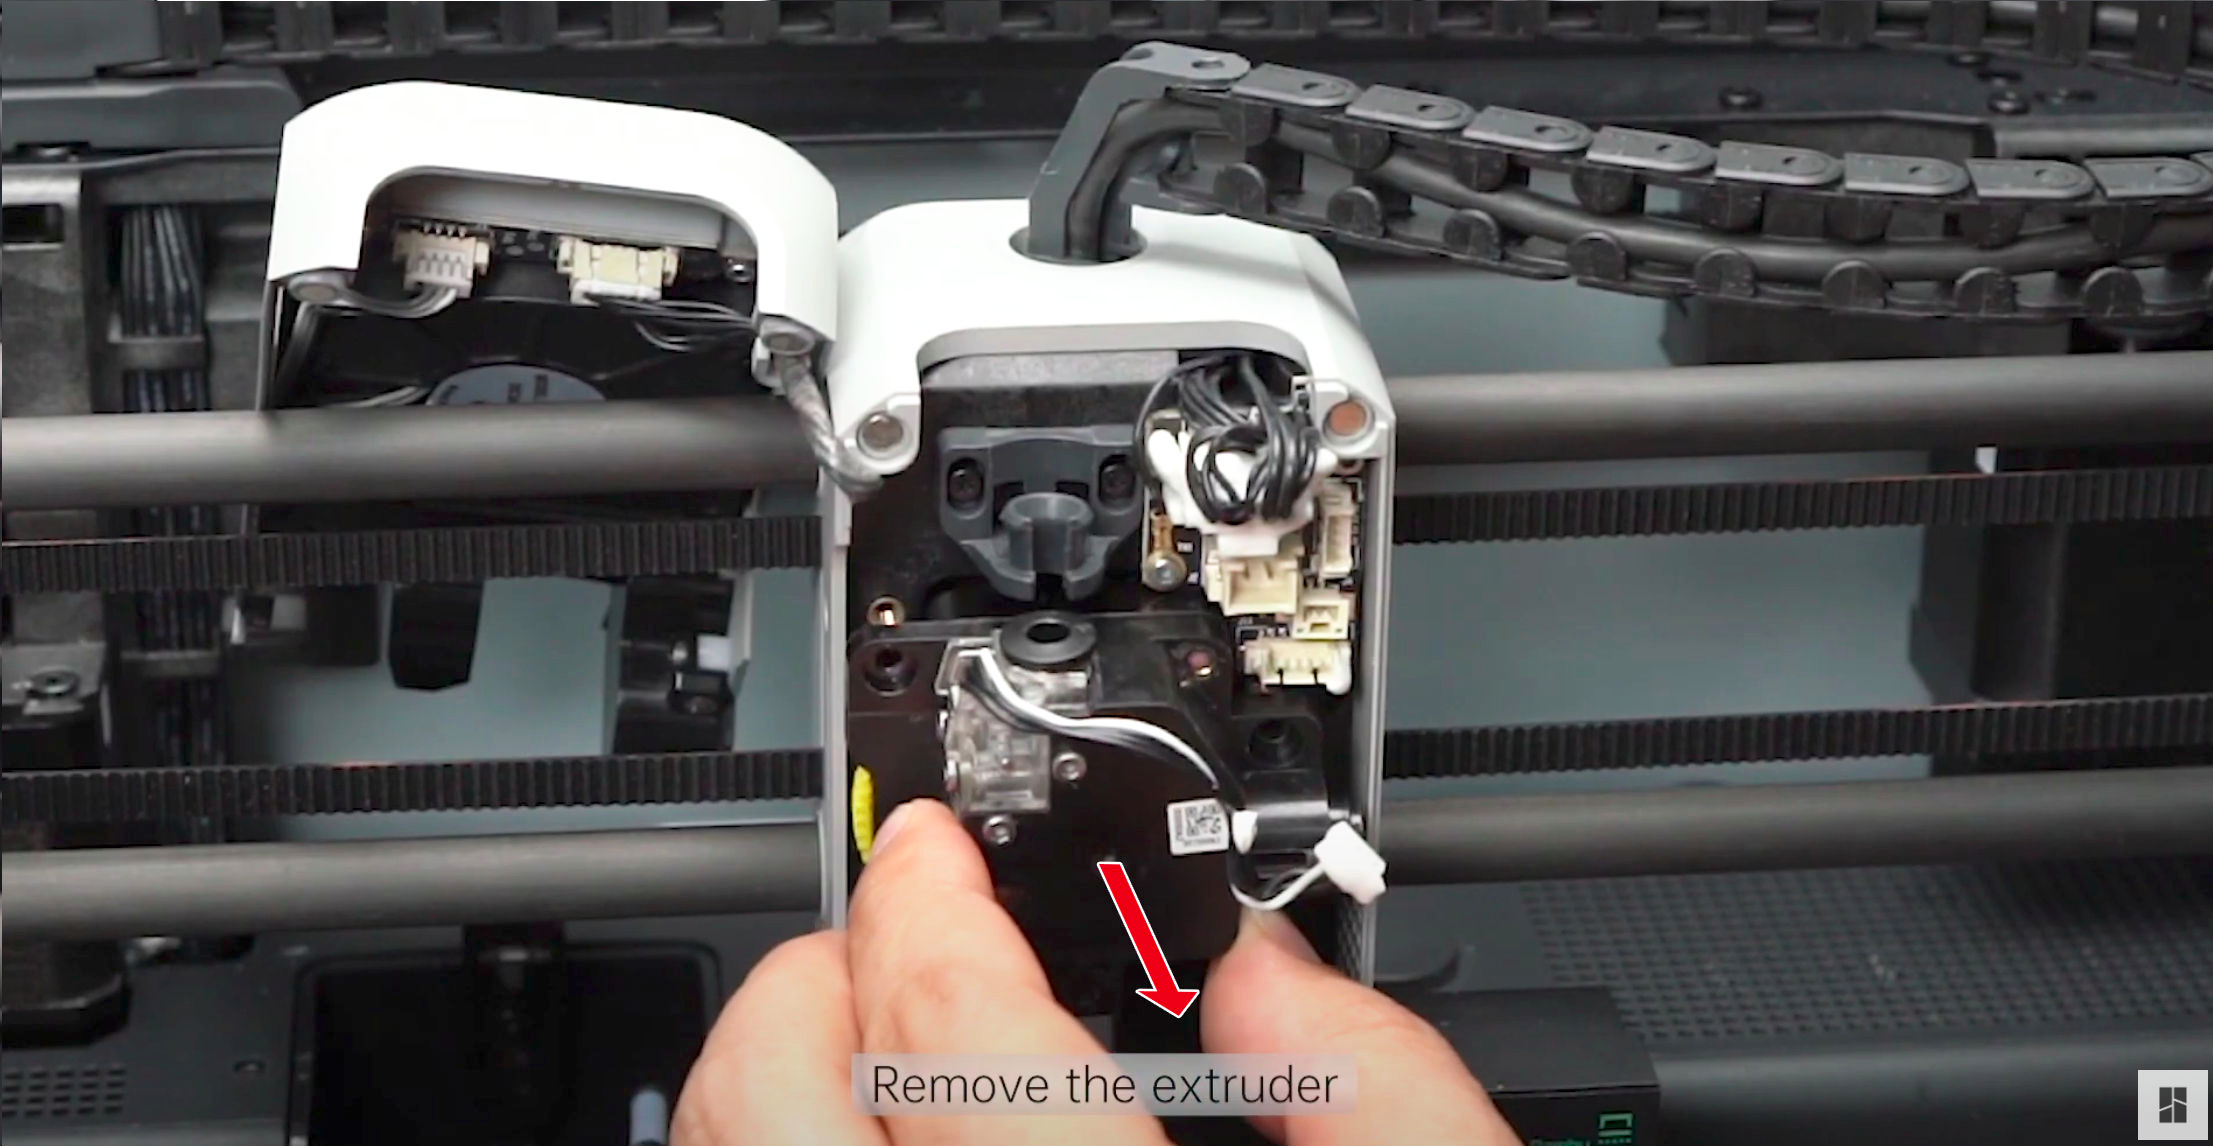
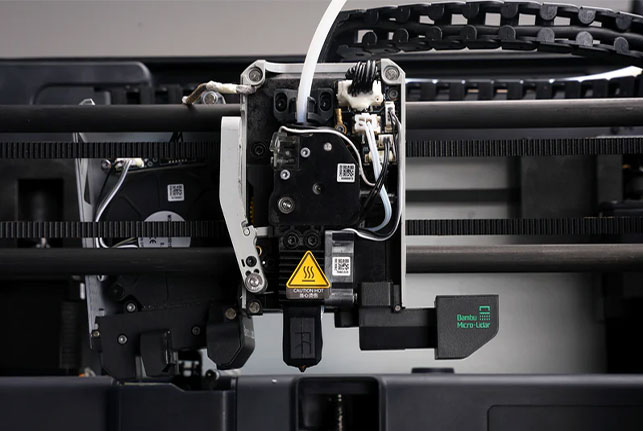
The extruder
The extruder is the module that pulls the filament. It consists of a stepper motor that drives a gear that advances the filament into the heating body. It is prone to clogging or jamming during use (useful to know for troubleshooting). The extruder of the Bambulab X1 Carbon printer is a direct extruder. This means it is located directly above the printing plate. This allows for better control of the temperature and pressure of the filament, resulting in higher quality prints. The X1 Carbon extruder is also equipped with a water-cooling system, which allows for printing high-temperature filaments such as PETG and Nylon.
The heating Body
After passing through the extruder, the filament goes into the heating body. It consists of a PTFE (Teflon) tube that guides the filament to the nozzle. It is also equipped with a heating cartridge that melts the filament and a temperature sensor that controls the filament temperature. The temperatures vary depending on the filaments used (see below).
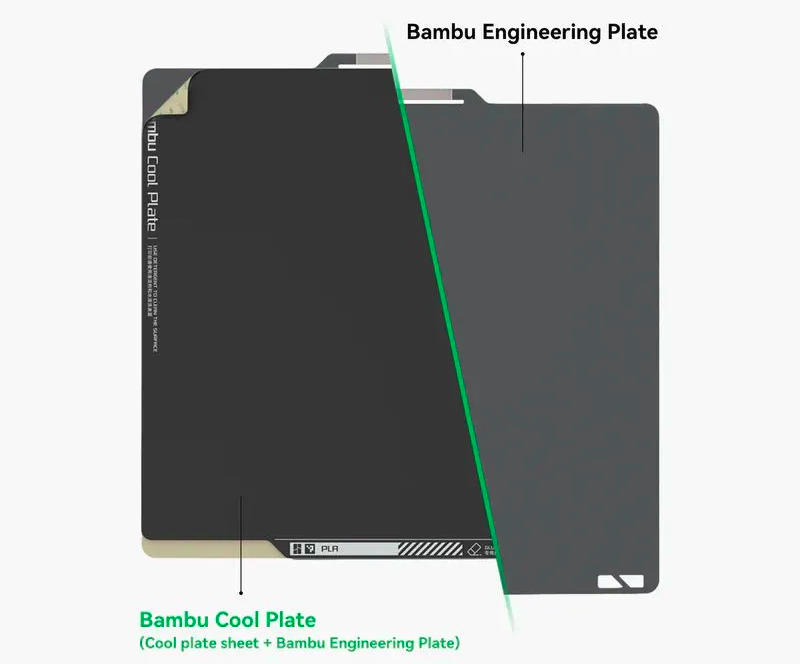
The plate
Finally, the plate is the surface on which the printing is done. It is heated to allow better adhesion of the filament. It is also equipped with a temperature sensor that controls the plate temperature. The temperatures also vary depending on the filaments used (see below). Textured plates exist to improve filament adhesion. It is also possible to use removable printing surfaces (BuildTak, PEI, or satin) to facilitate the removal of the print.
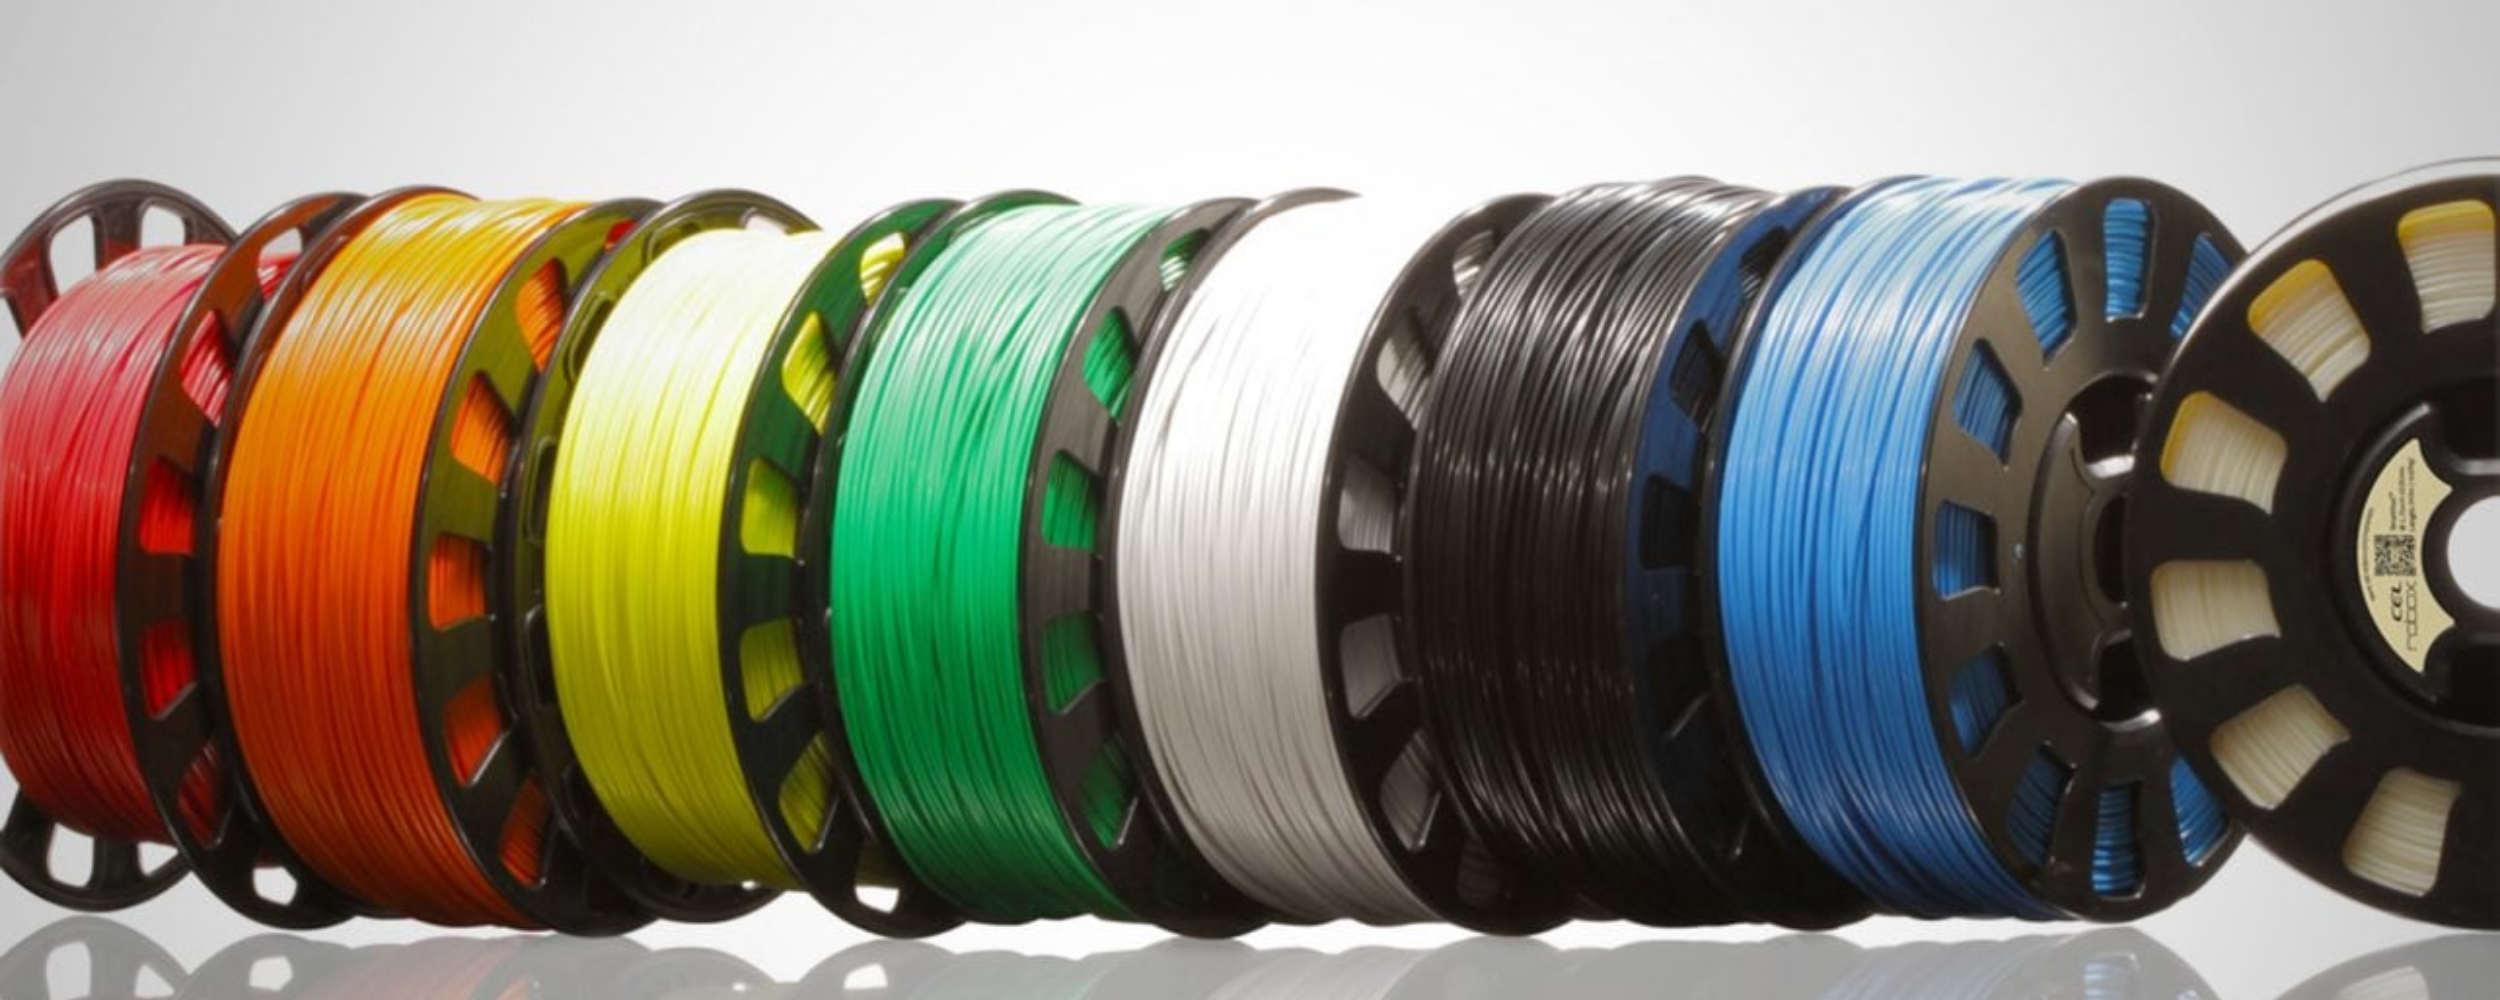
The filaments
3D printer filament is one of the most commonly used categories of 3D printing materials in the world. Unlike powder and liquid resin and other 3D printing technologies, filament is produced in the form of a fine, continuous plastic thread several hundred meters long, which is generally wound onto a spool for storage and feeding into the printer. Determined by the thermal extrusion process of FDM printers, the raw material of the filament is a thermoplastic material including the most commonly used plastics in life, as well as some special formula materials for certain uses.
For more information about the filaments, consider reading the Filament | FDM plastics guide.
Printing Protocol
Retrieving the File
The first step is to retrieve the file to be printed. This file must be in a format compatible with the slicing software used. The most common format is .stl (in some case .obj). The file can be downloaded from the internet, created using CAD software, or scanned using a 3D scanner.
The major sources of 3D models are:
- Thingiverse, supported by Cura
- Printables, supported by Prusa
- MakerWorld, supported by Bambulab
- Cults3D, independent
In addition, you may encounter .3mf files, which are a container format that can store 3D models, associated data, and metadata in a single file. This format is supported by Orcaslicer.
Slicing your files
The second step is to slice the file. Slicing is the process of converting a 3D model file into a set of instructions for the 3D printer. This set of instructions is called G-code. The slicing software allows you to configure the print settings (layer height, print speed, temperature, etc.) and to visualize the print before starting it.
For more information about slicing software, consider reading the 3D slicer | OrcaSlicer guide.
Preparing the Printer
Once your file is sliced, you need to prepare the printer. This involves checking:
- The filament is loaded correctly in the back of the printer or the AMS is plugged in and recognized
- There is enough filament for the print you intend to do
- The plate is clean and leveled
Once everything is ready, you can start the print. The printer will heat up the plate and the extruder to the required temperatures and start printing.